FO Friday: Striped Baby Stocking Hat

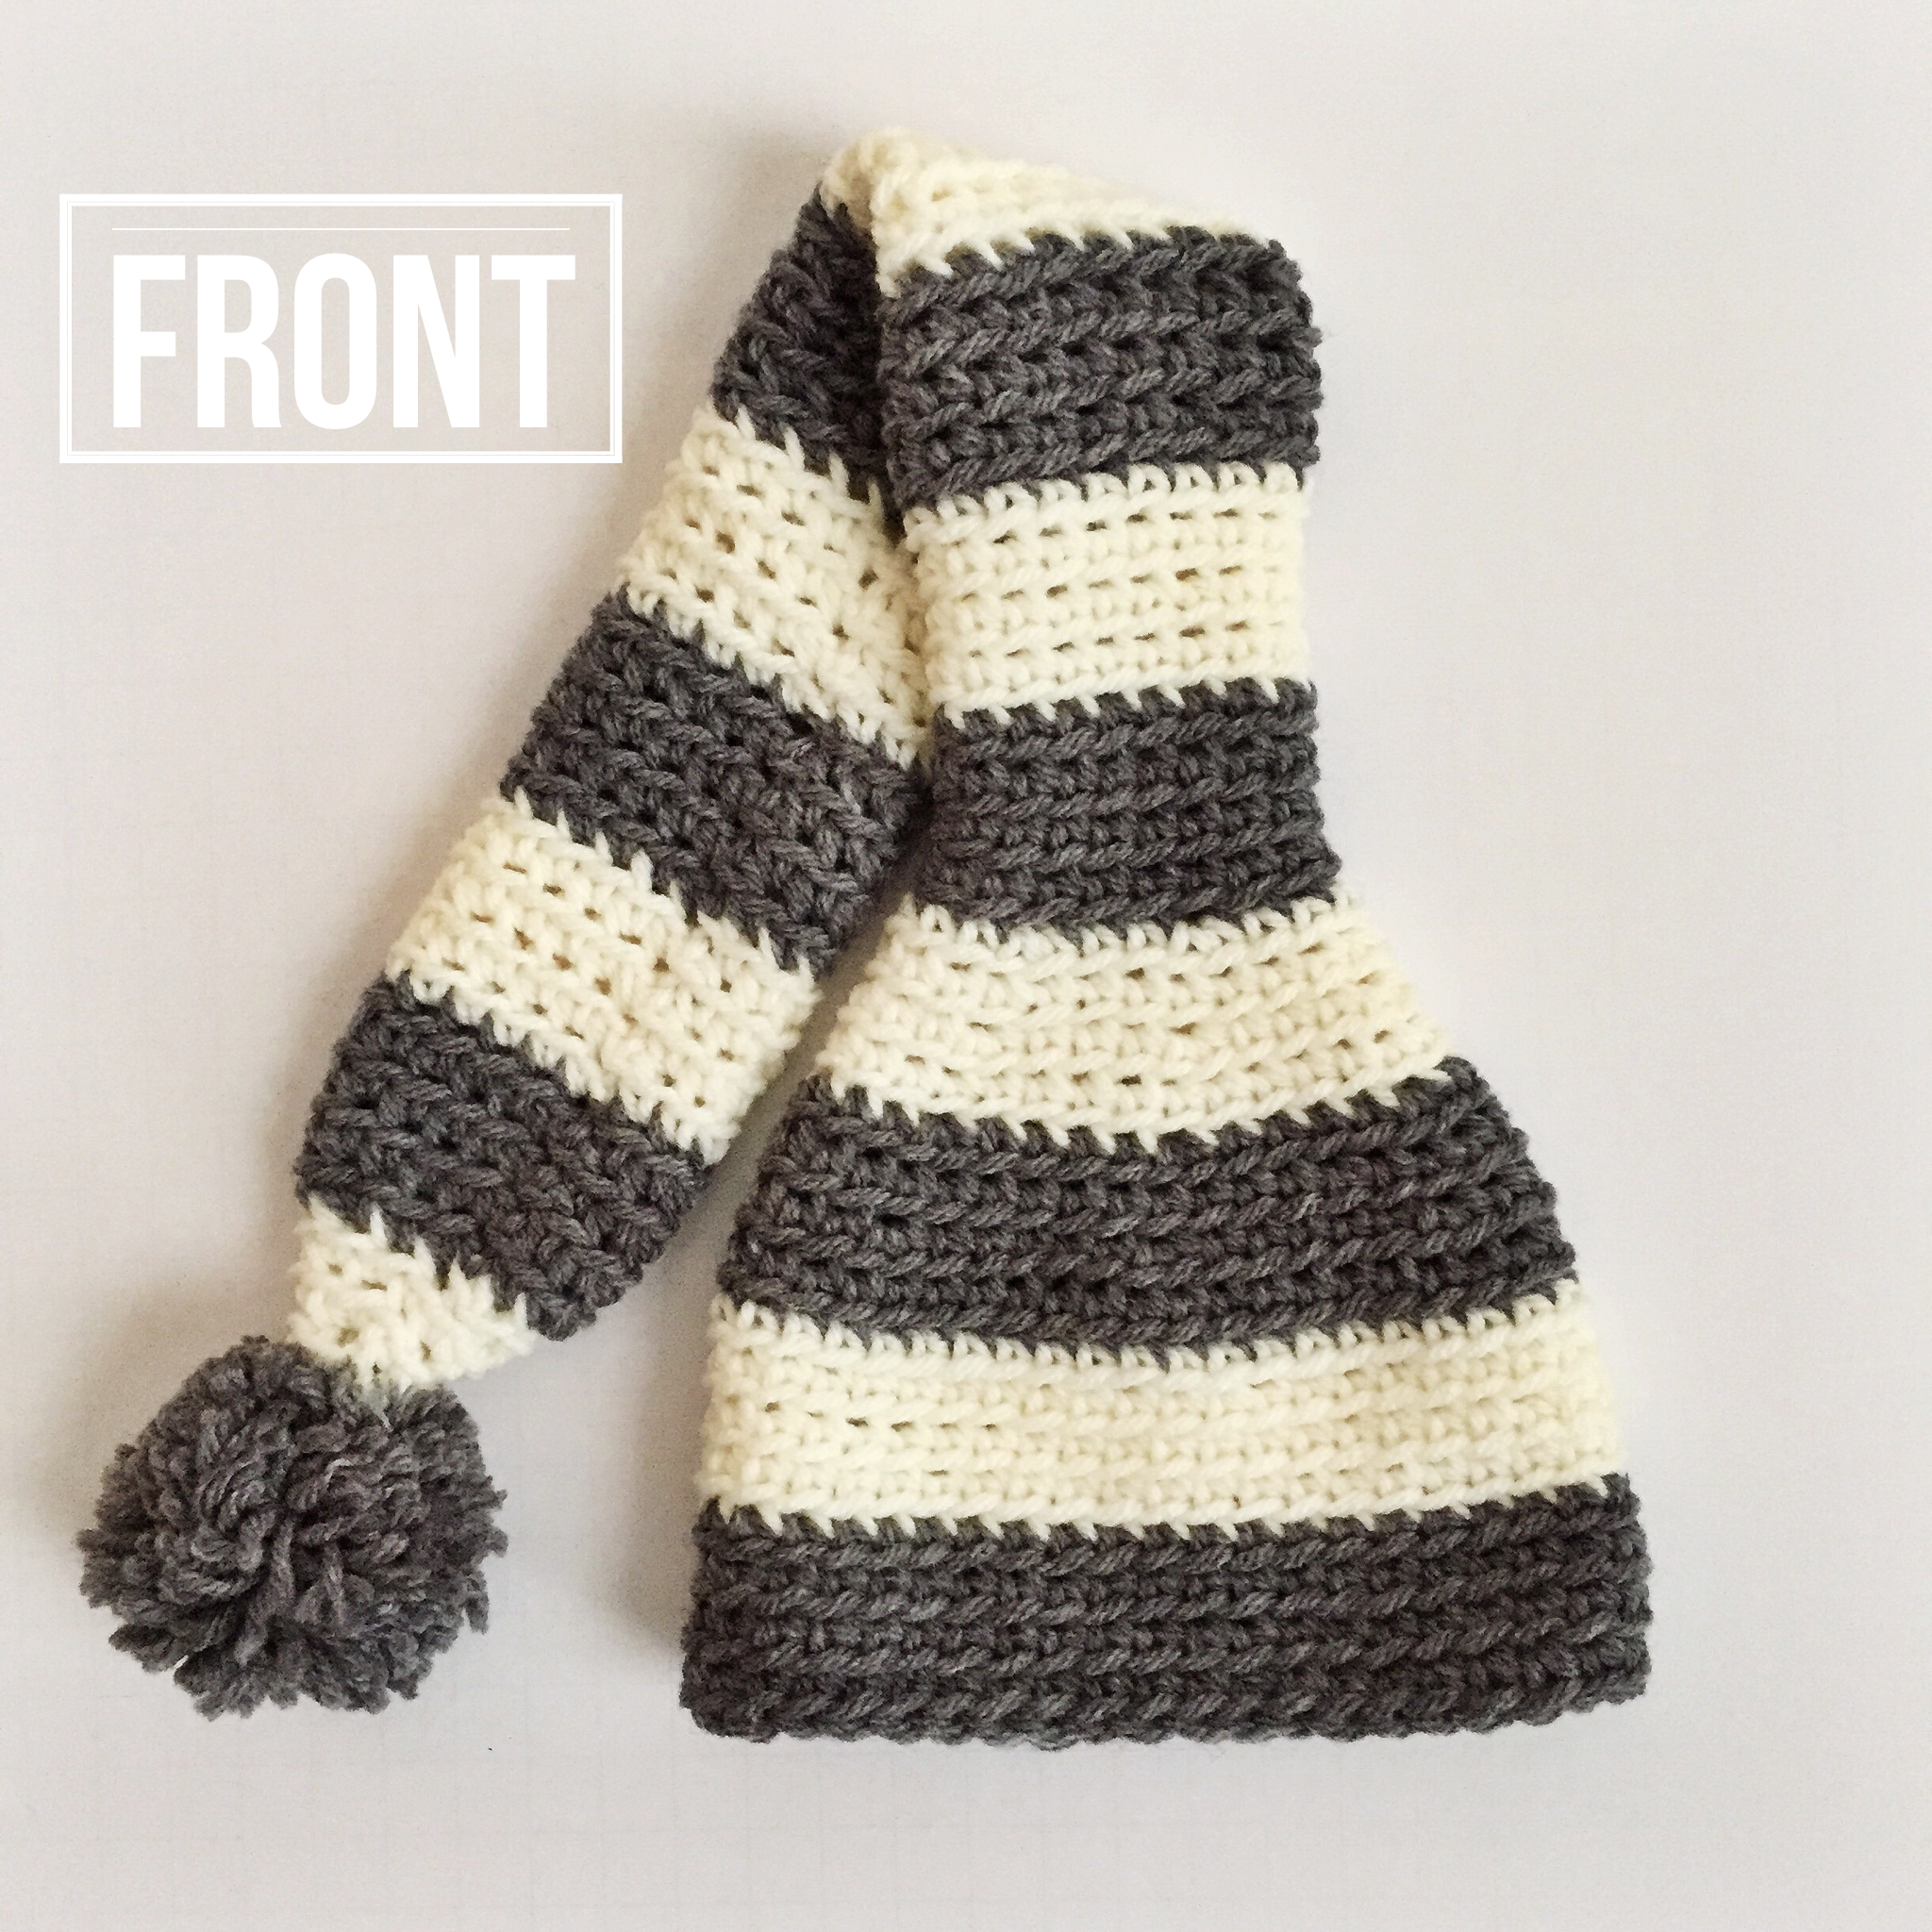
Finished Object Friday

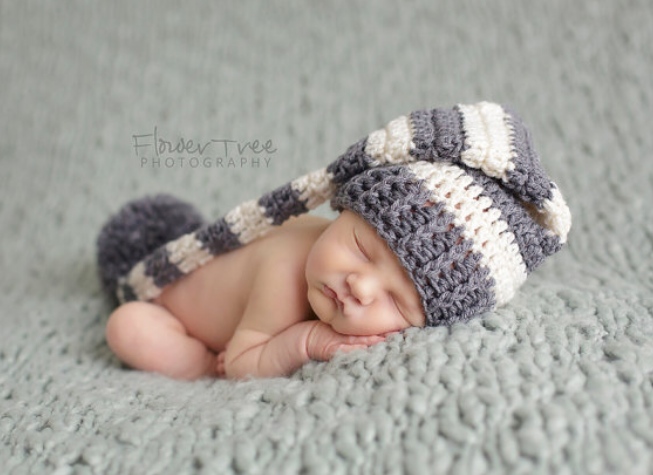
A few days ago all I had was this scribbled plan in my design binder. After one false start, a bit of frogging and lots of hemming and hawing and staring at the inspiration picture, I finally finished my baby beanie!

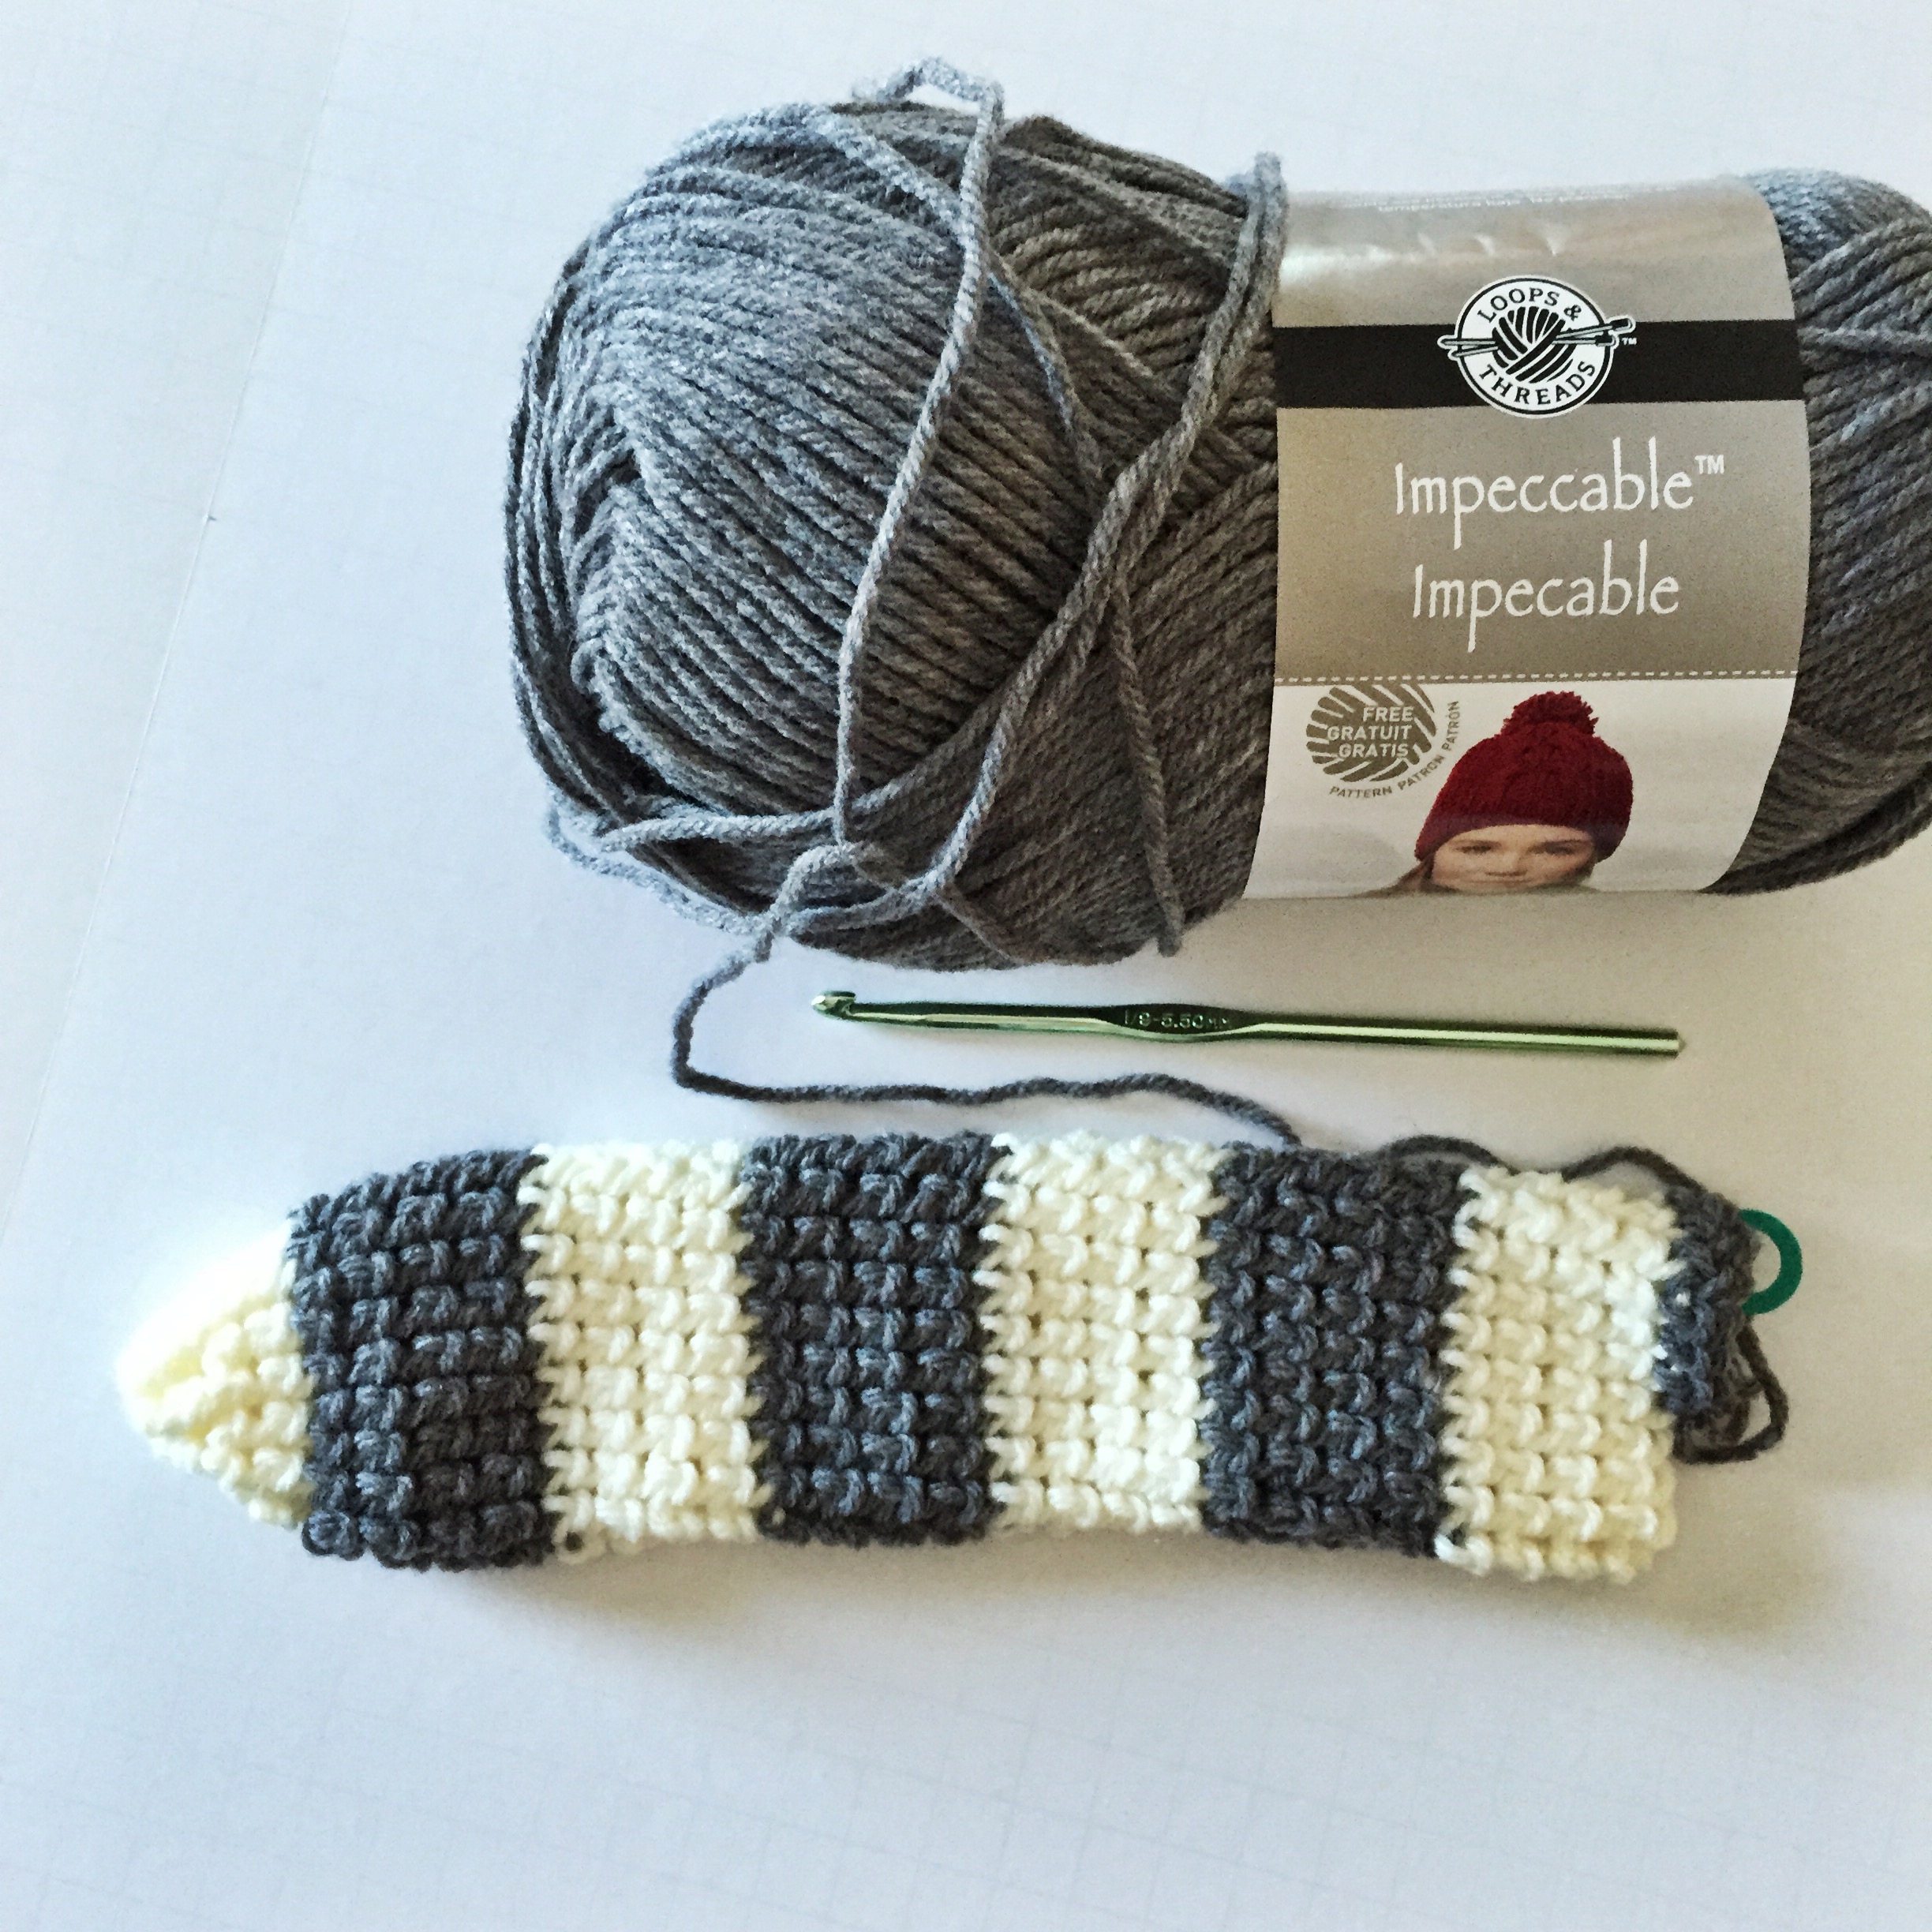
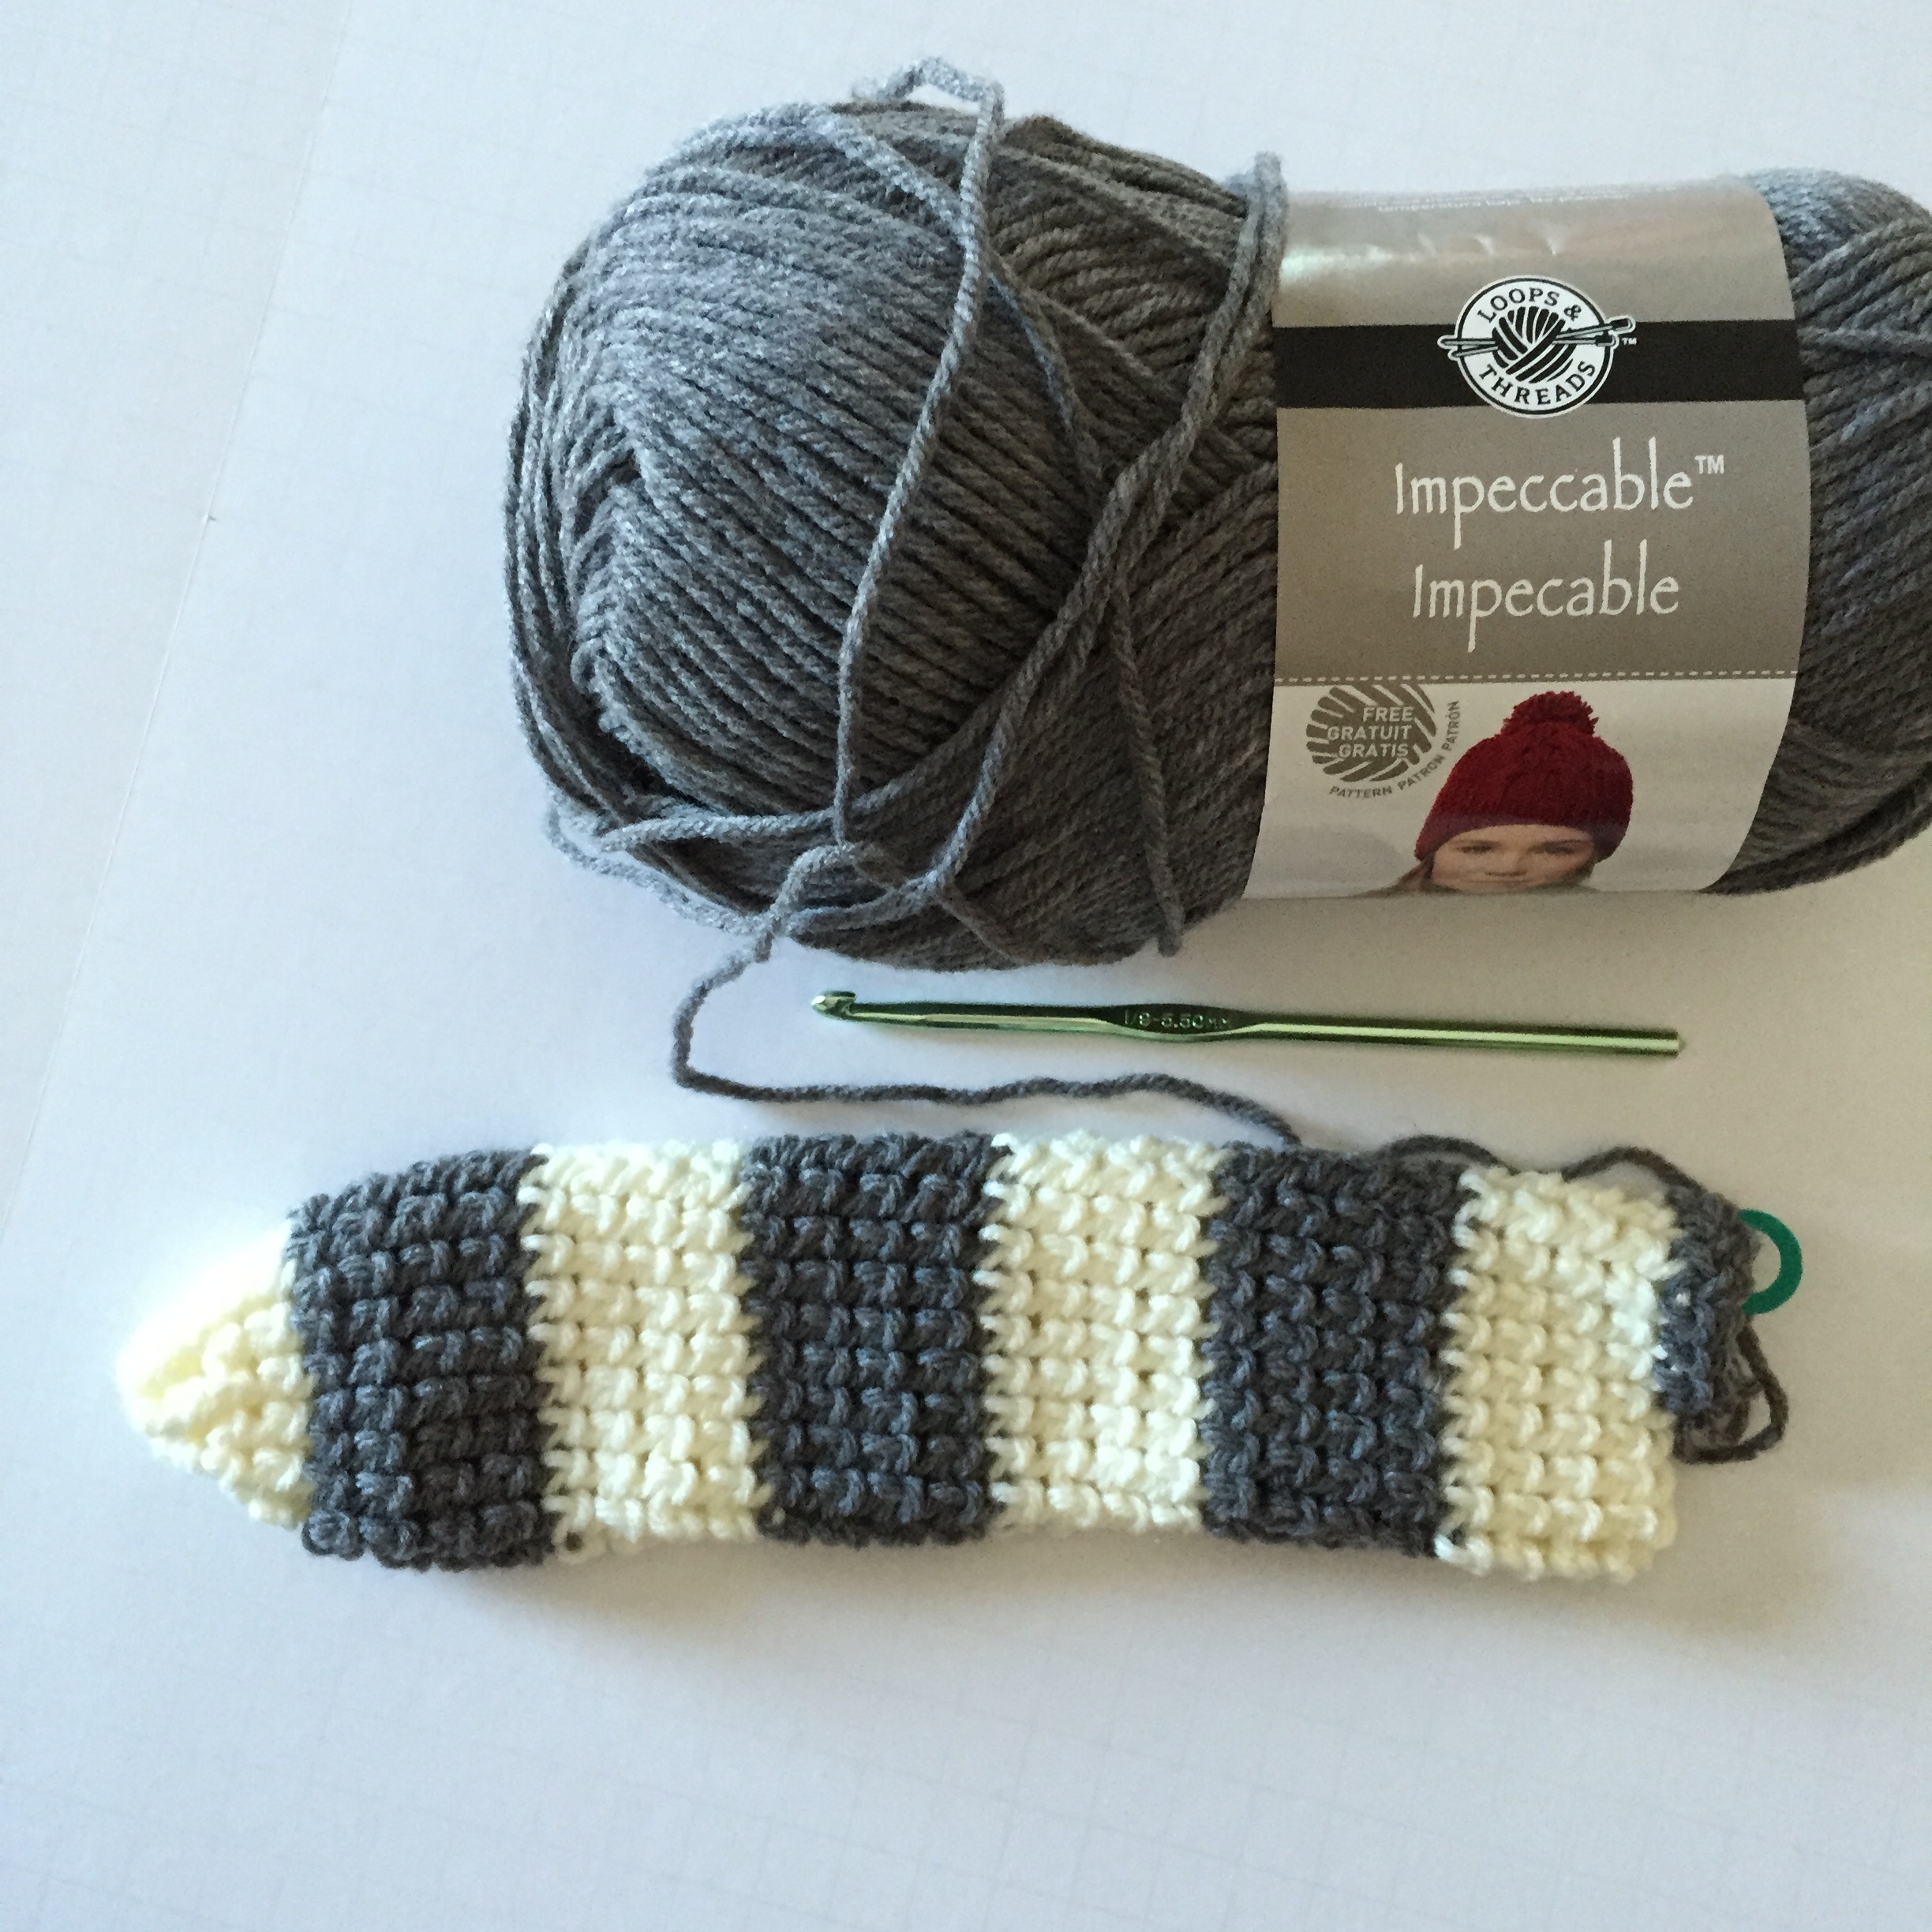
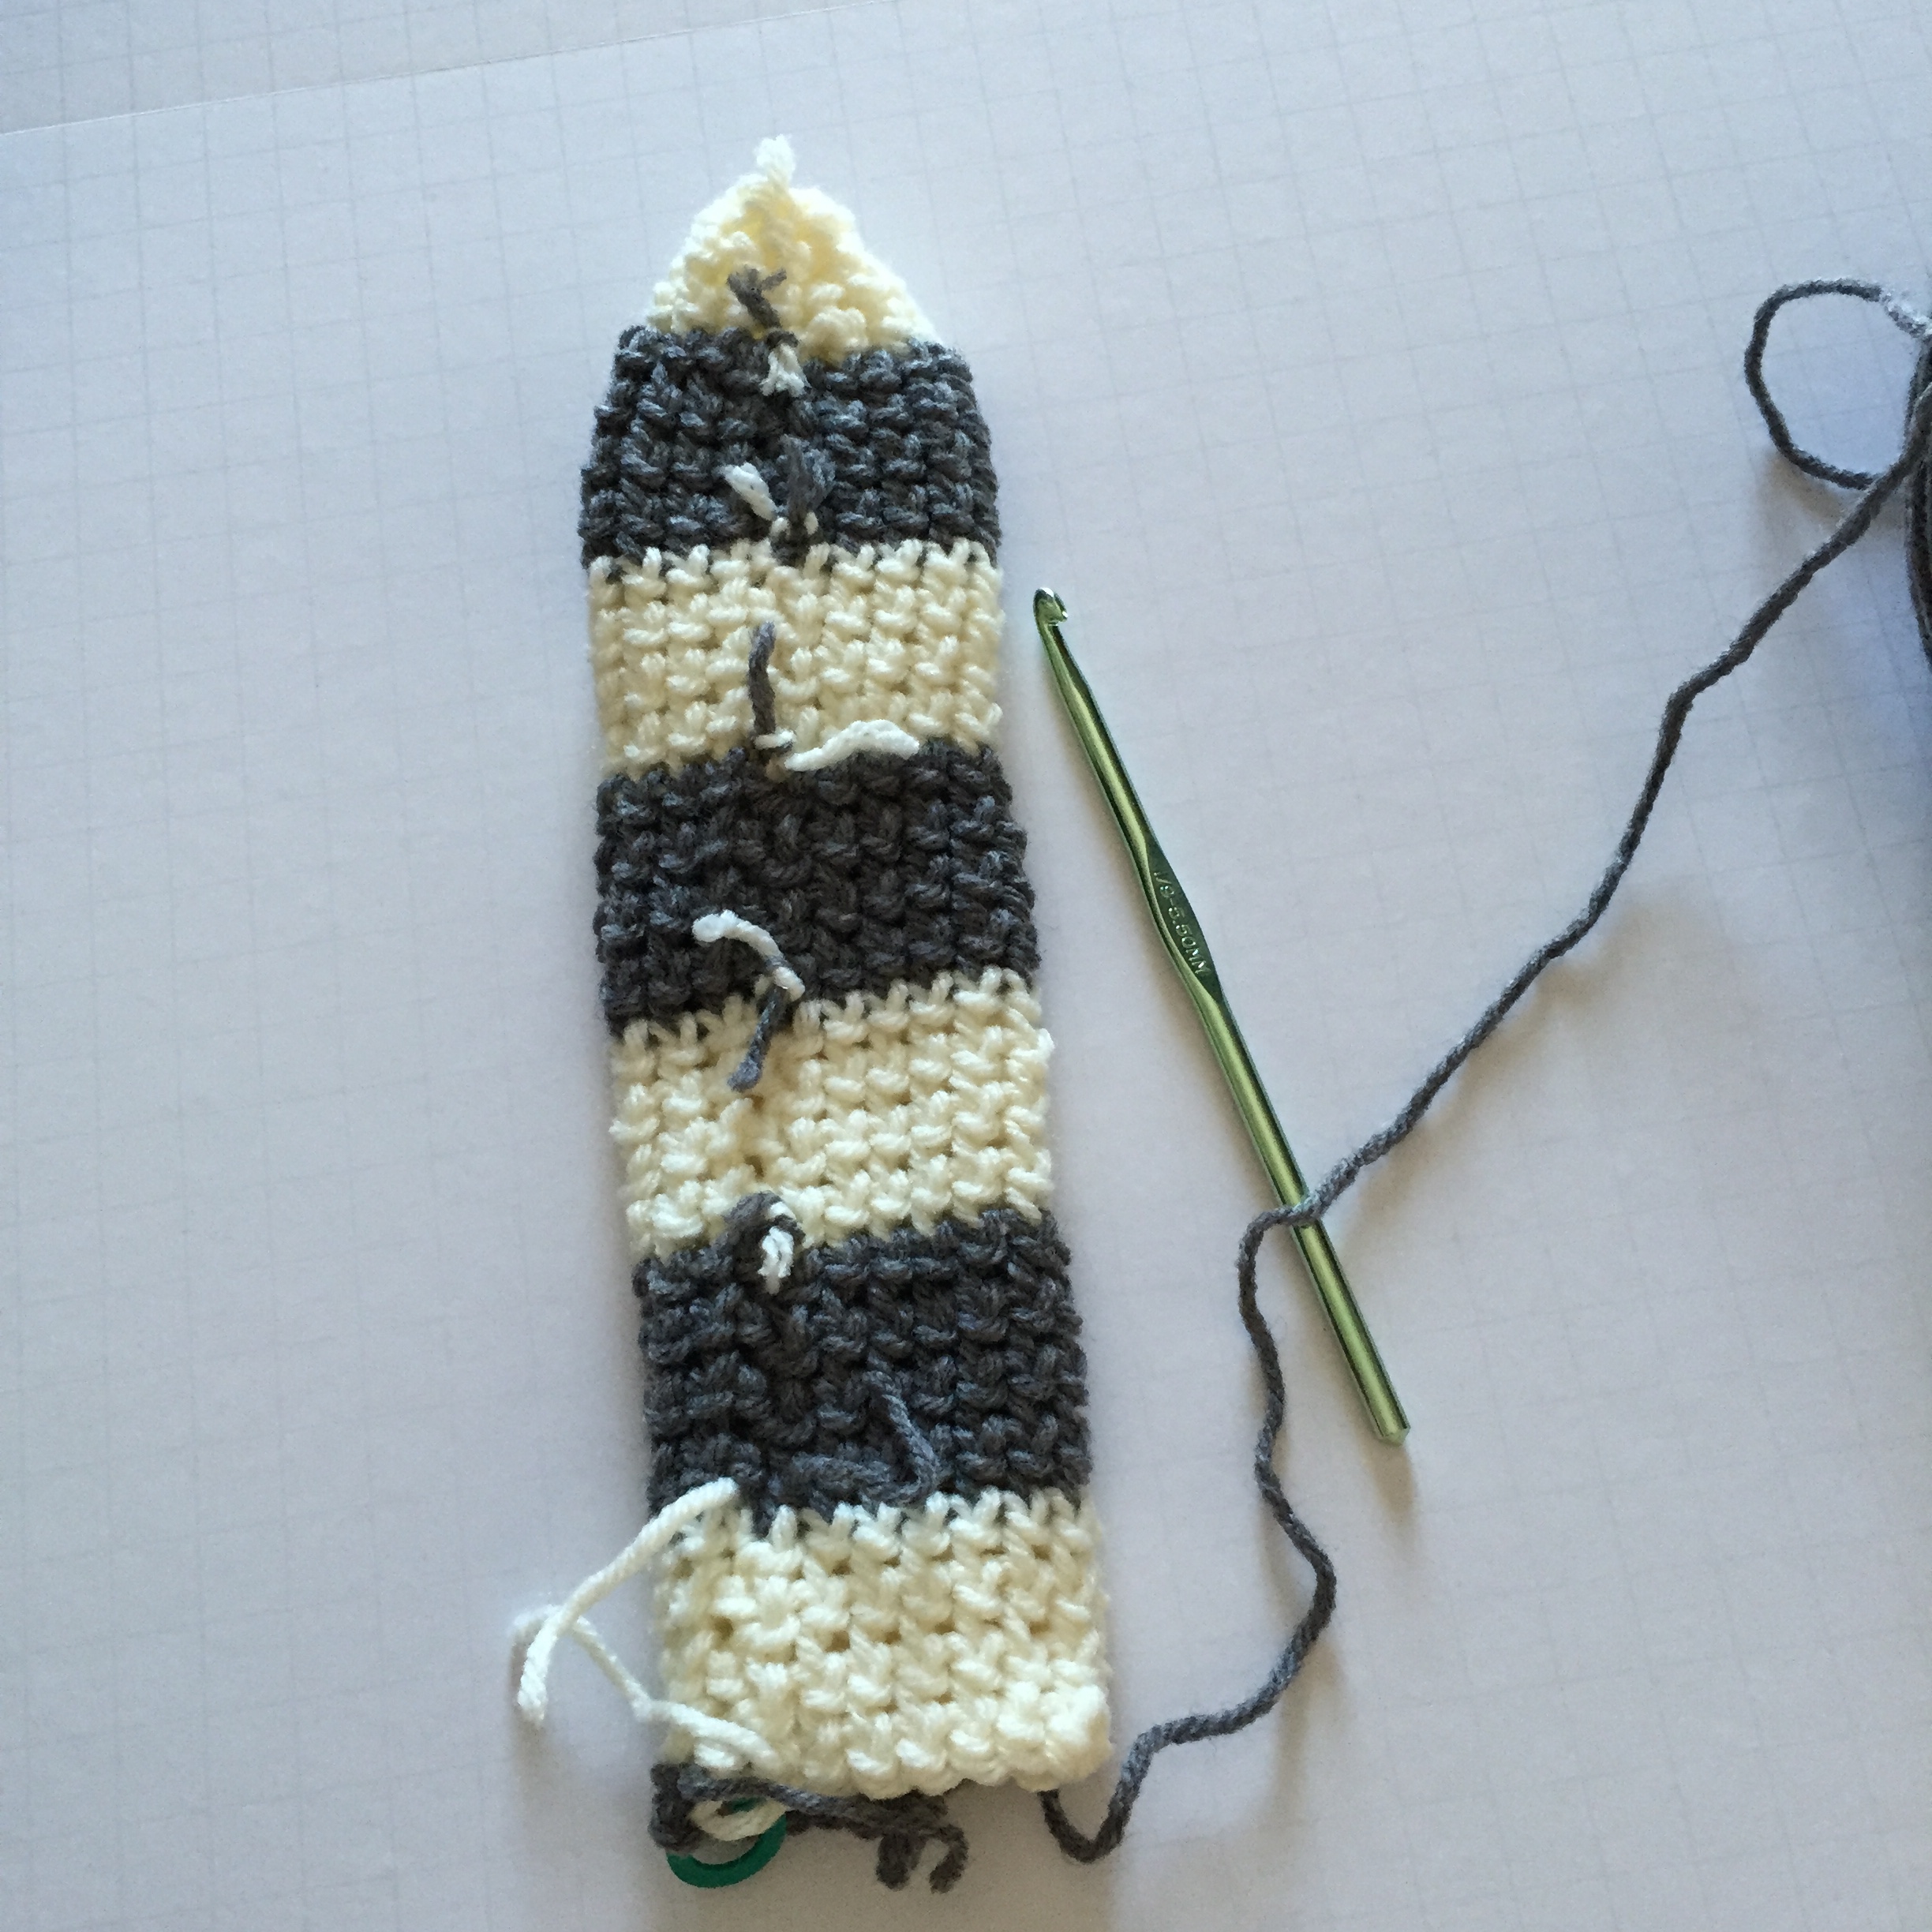
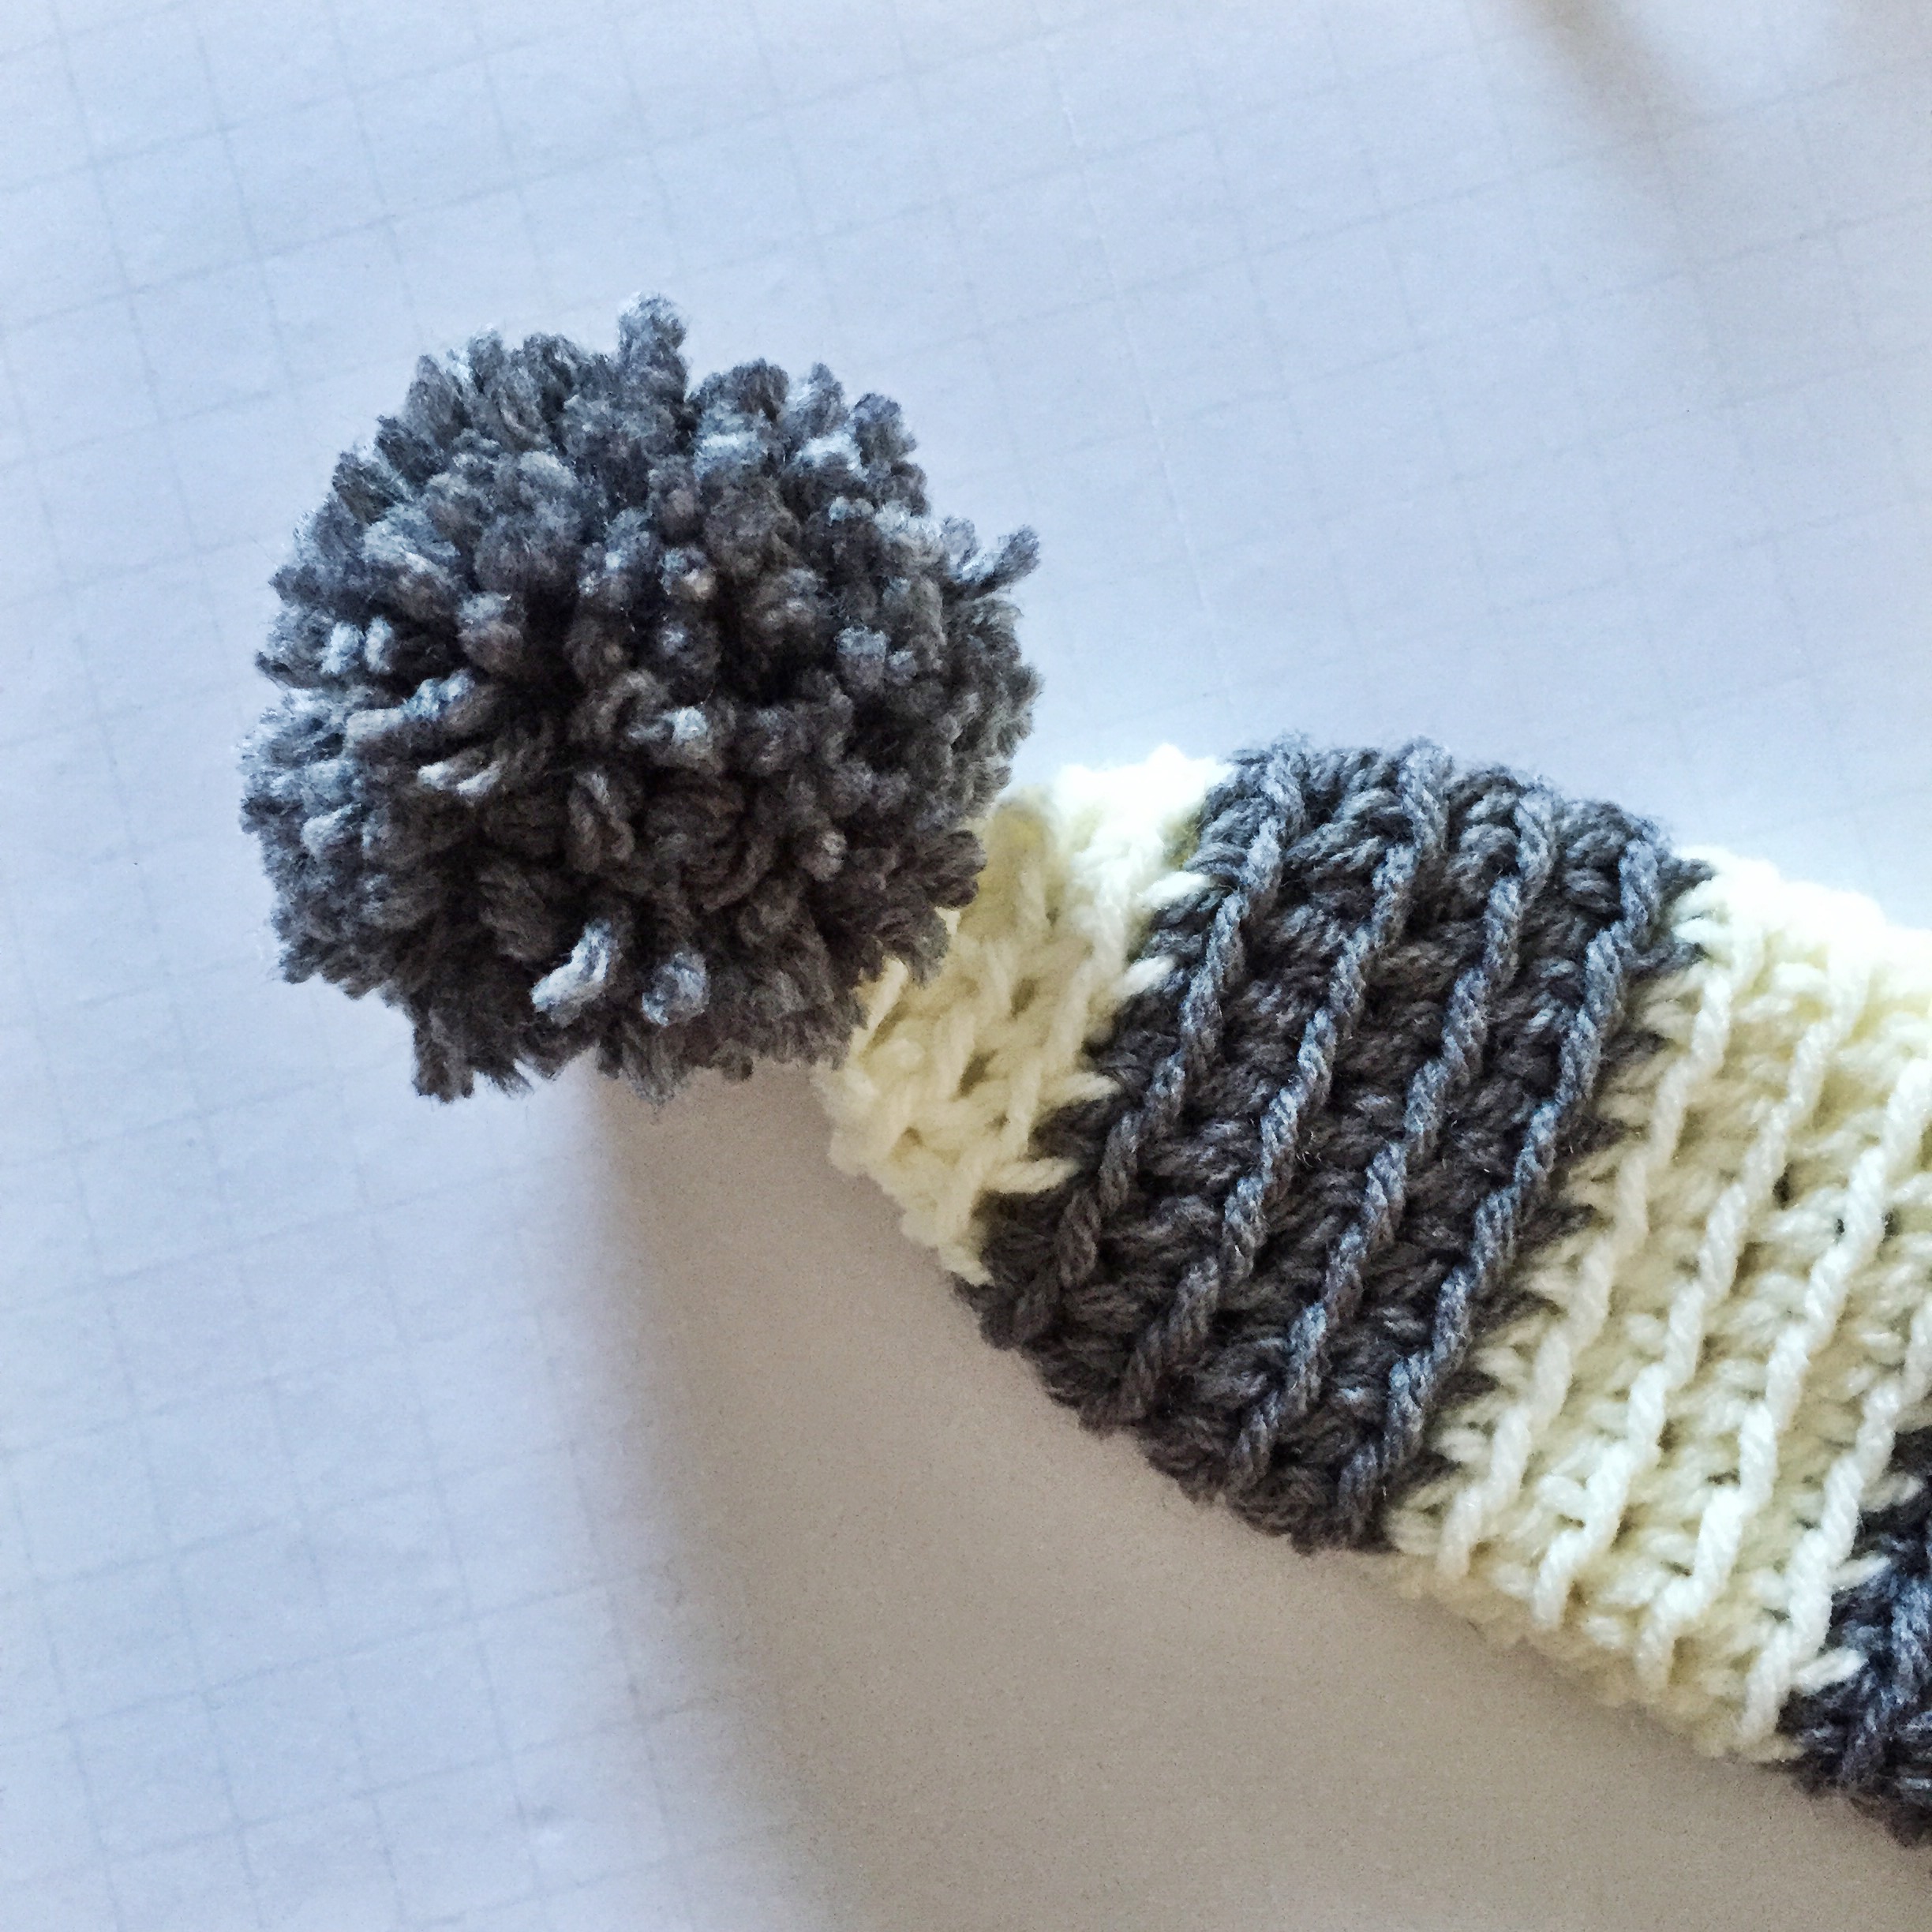
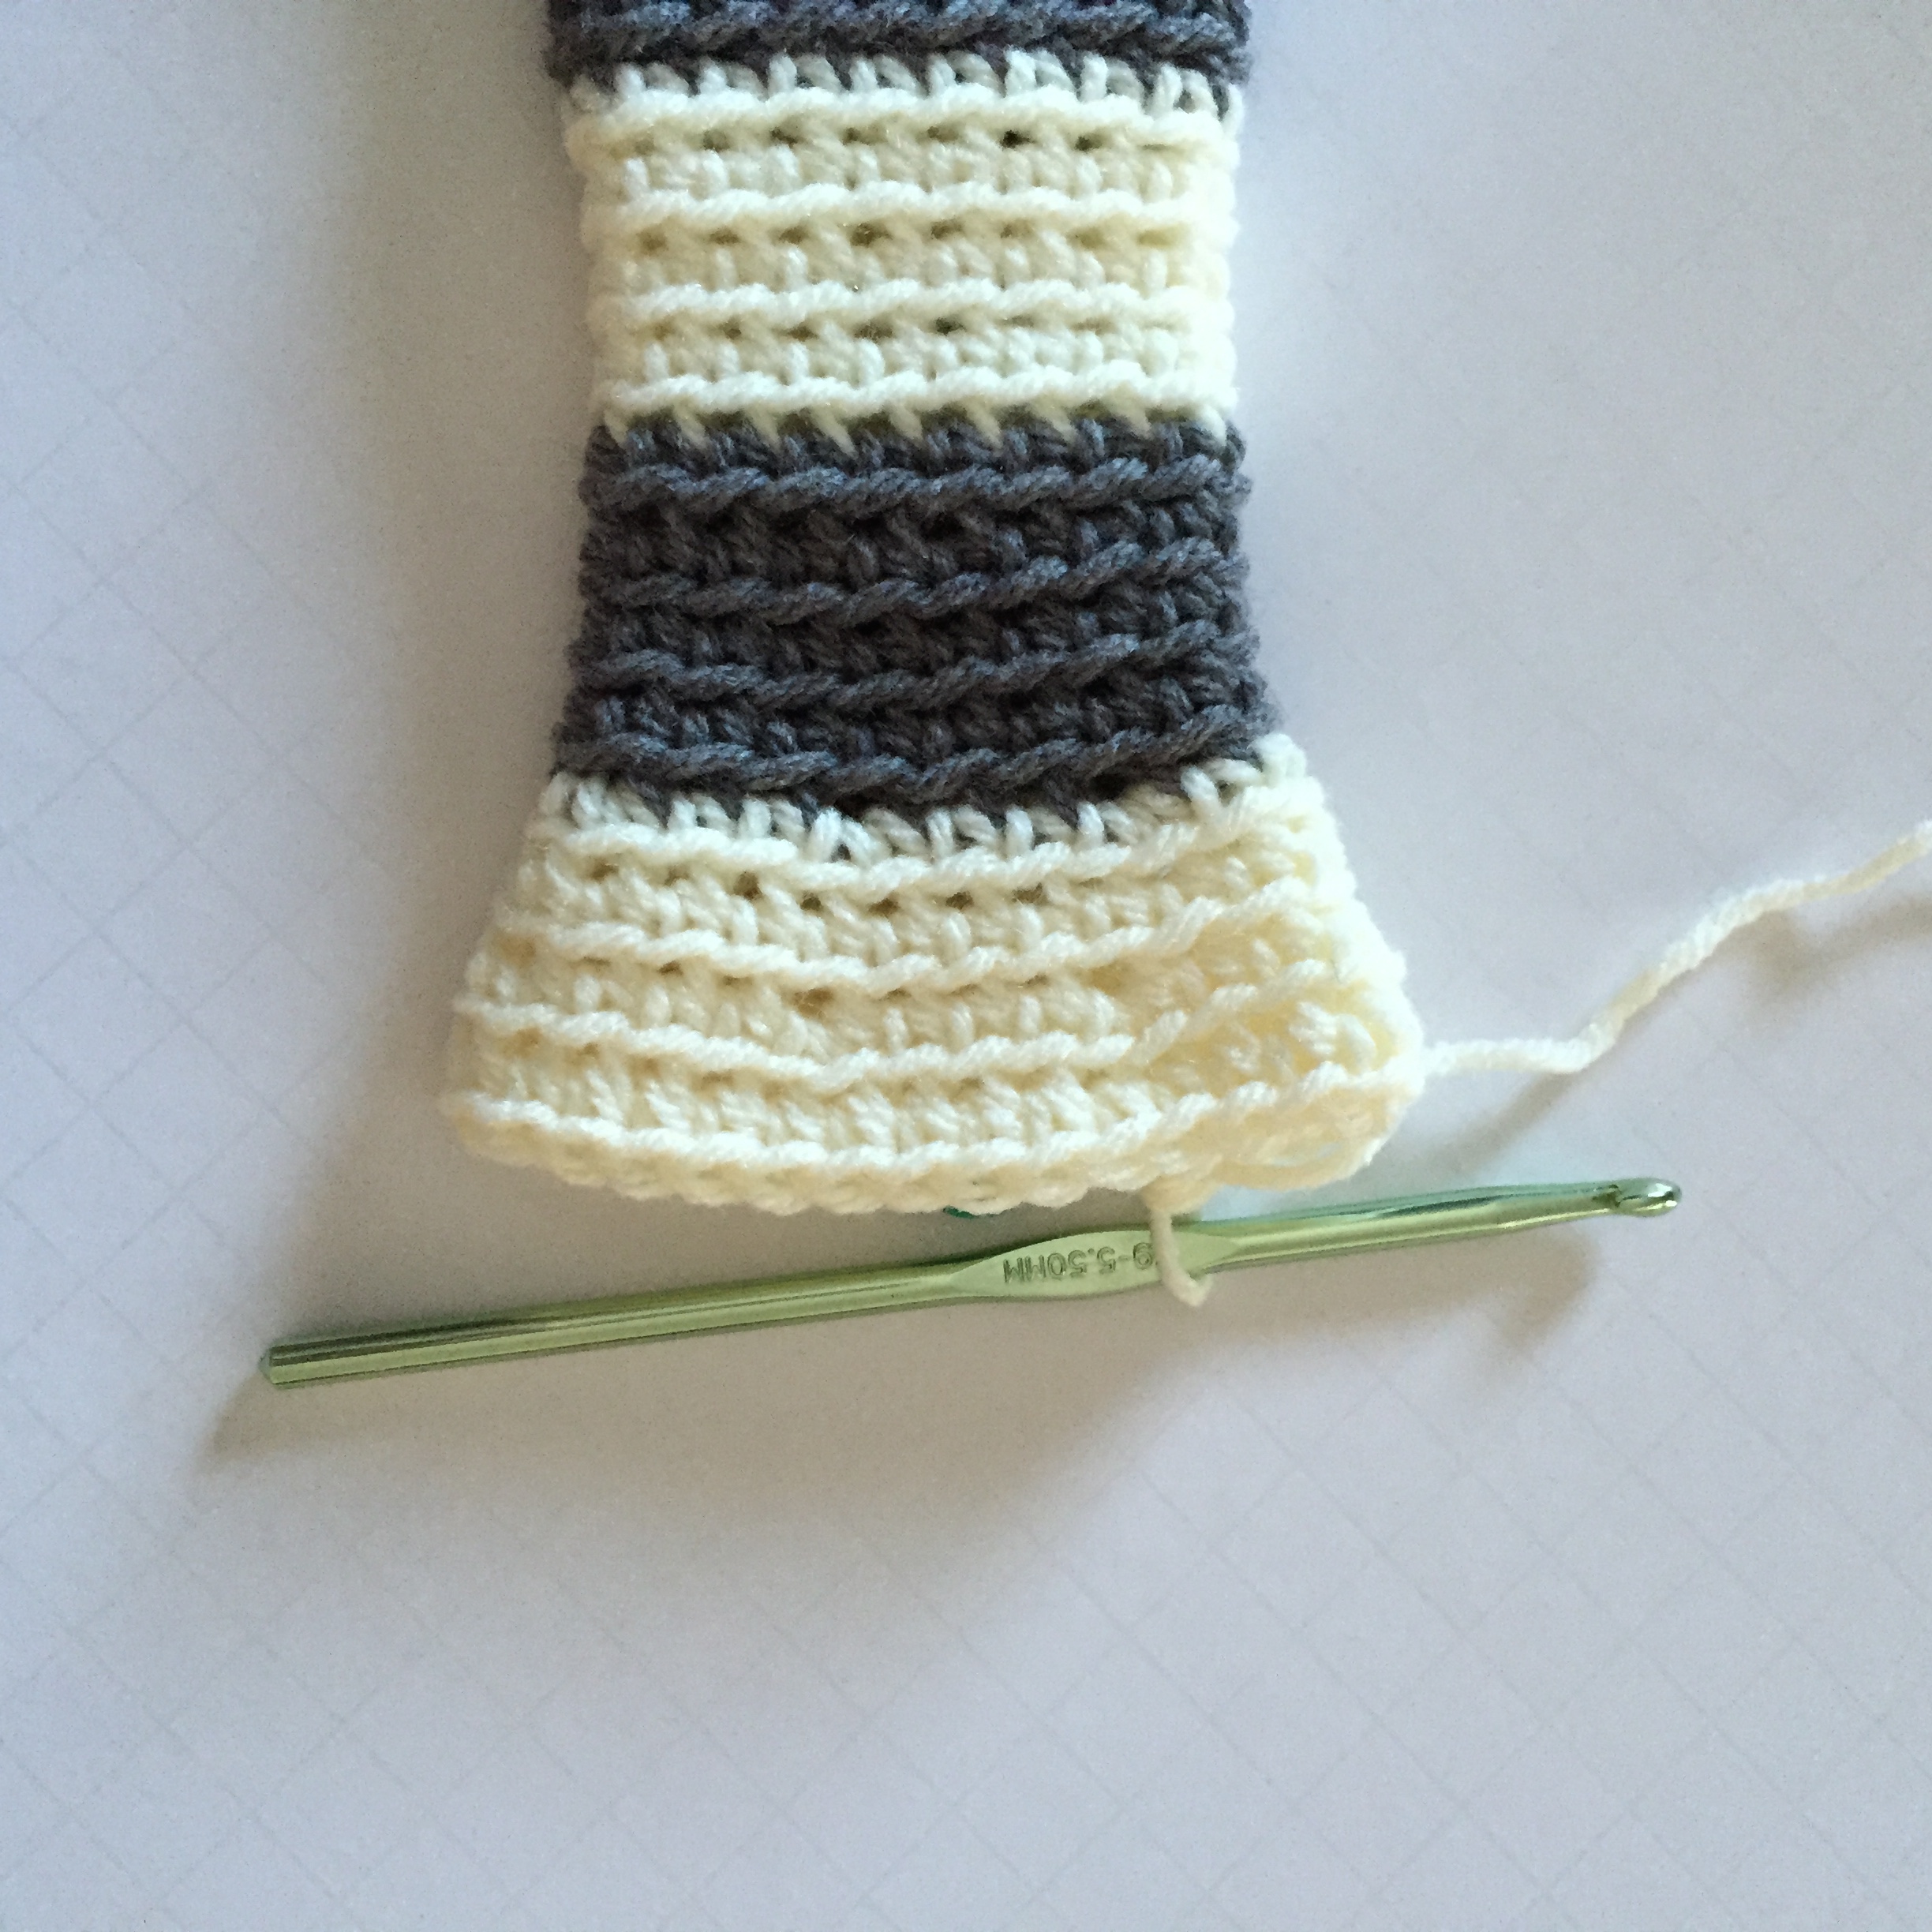
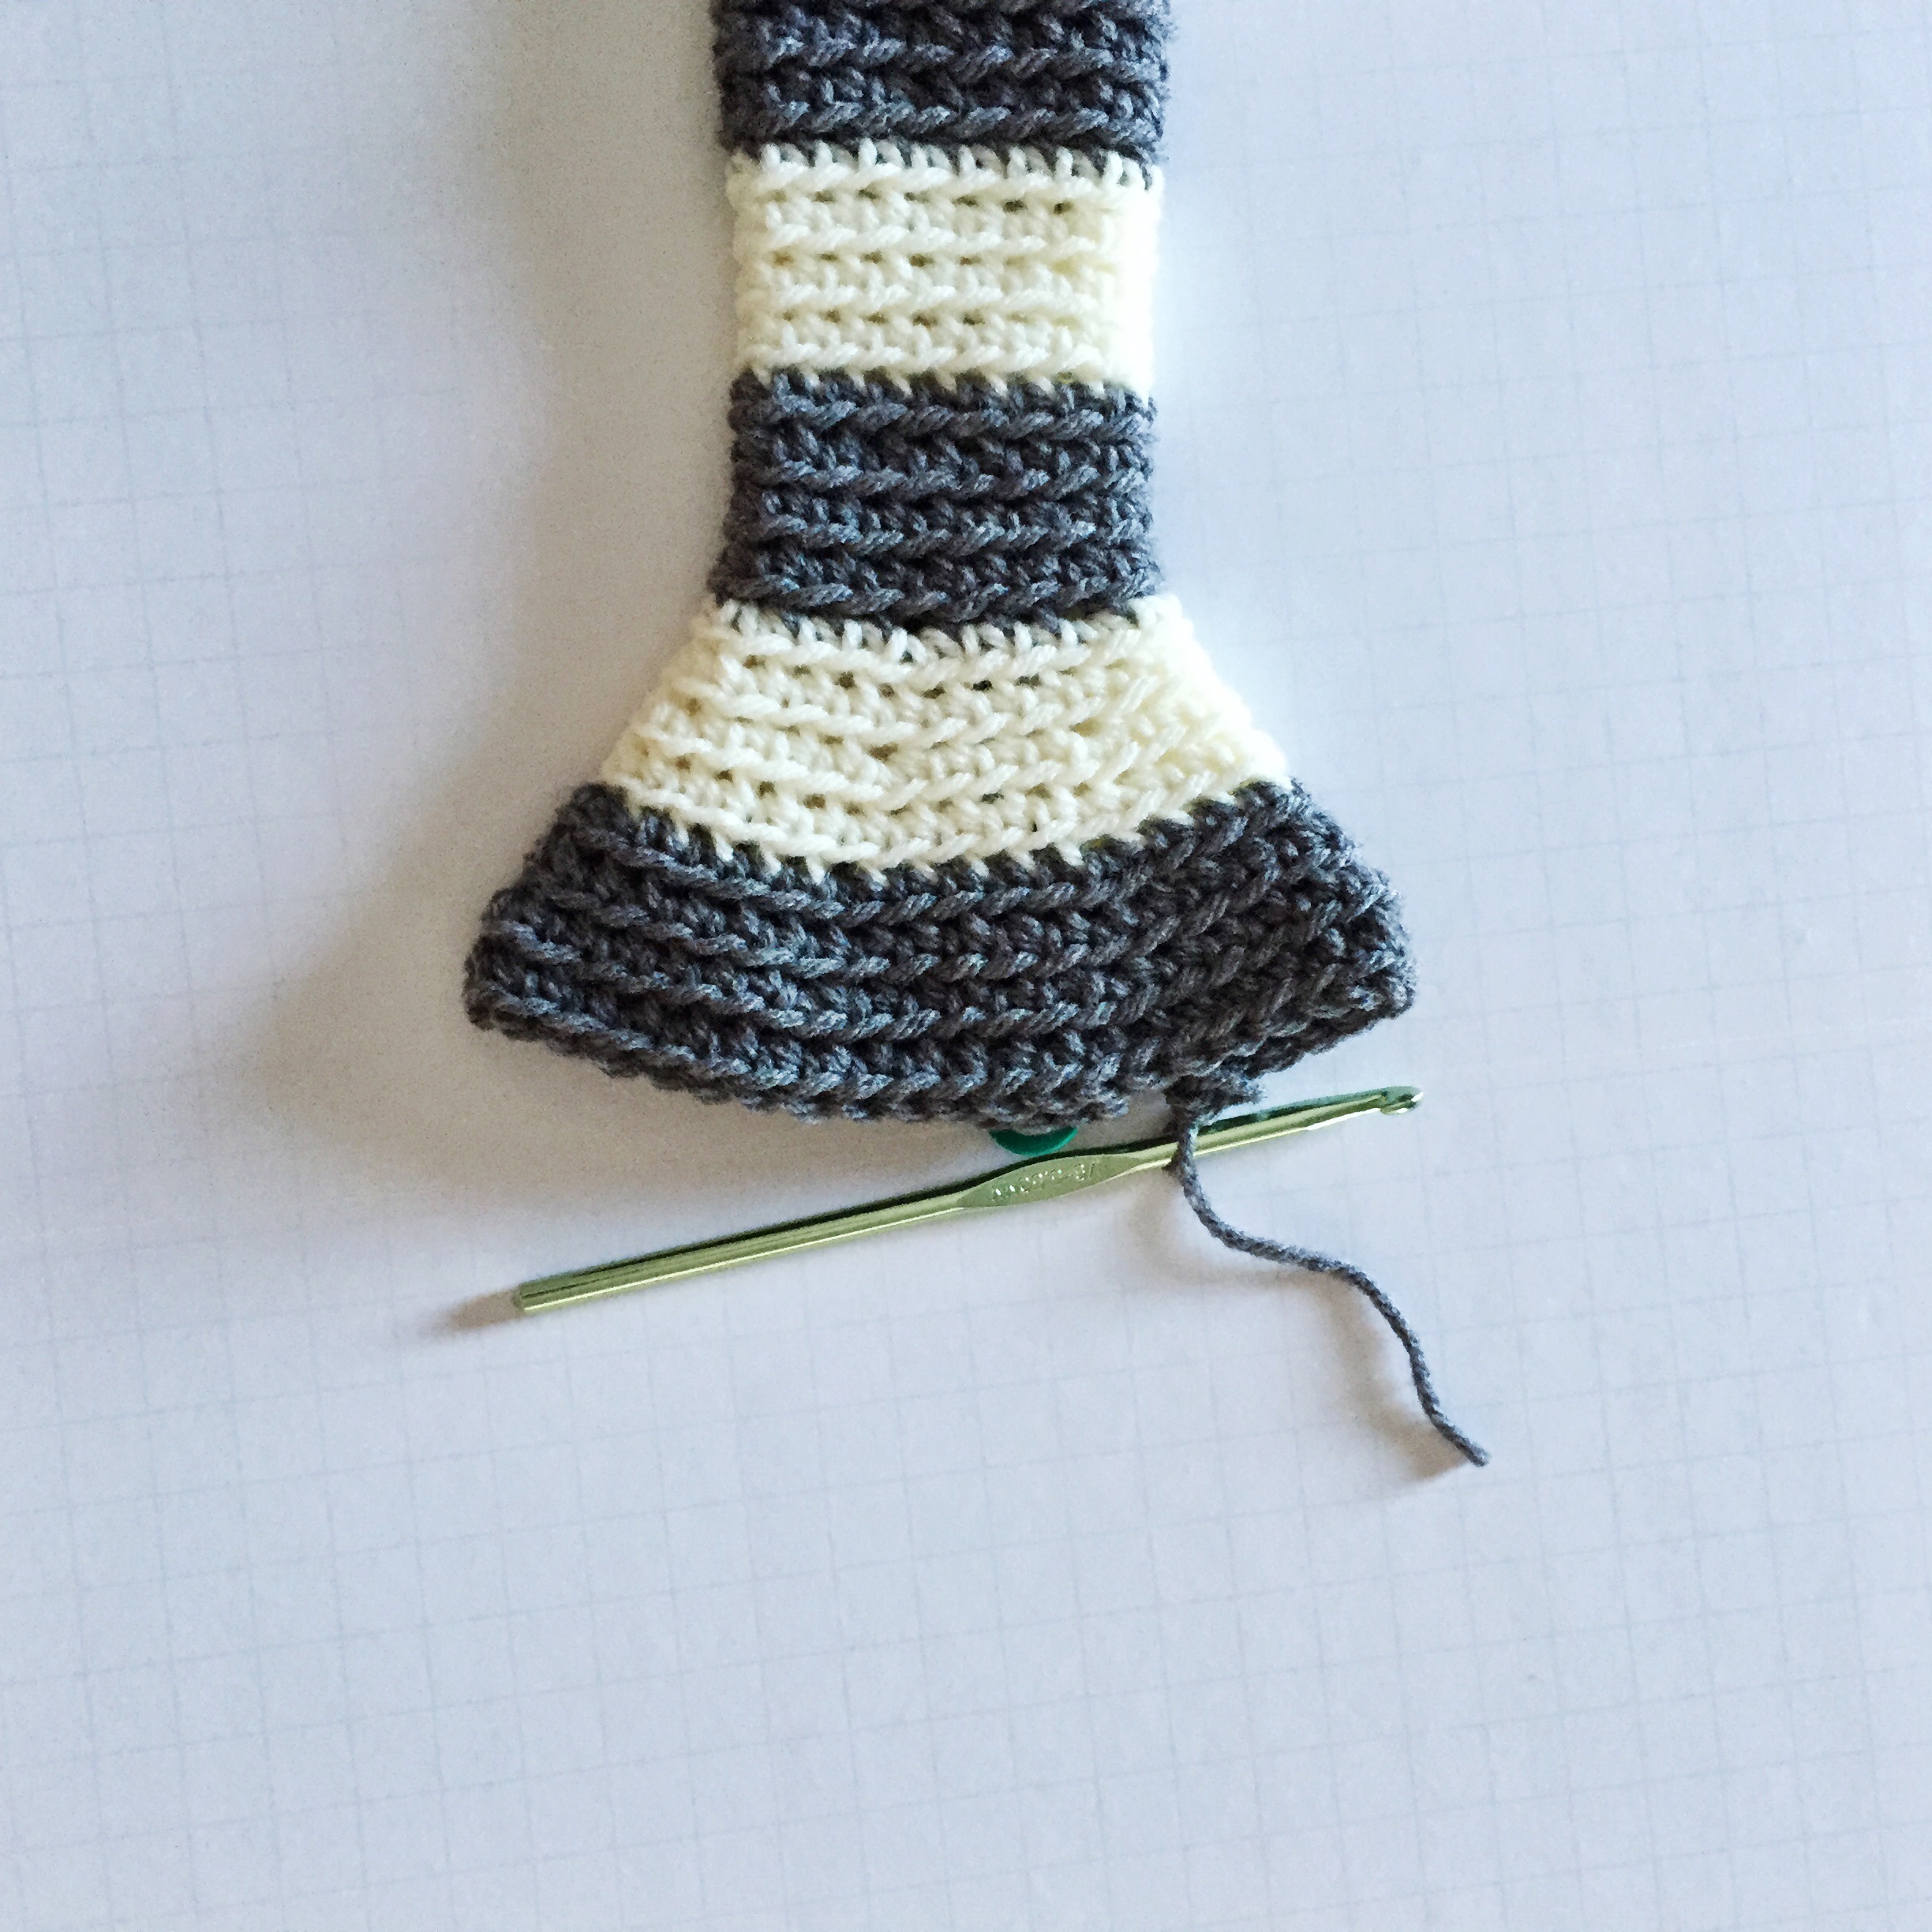
Click through the slide show below to see the process of my beanie creation. :)


My pre-crochet plan

My pre-crochet plan

I really hope this ends up fitting like it's supposed to! I'm not completely sure it's the right size for a newborn. But, I'm going to give it to my photographer friend and she can let me know if it needs to be bigger or smaller. Sometimes I get it right the first time, but not always!

It's so much fun to create a new design and then crochet it and bring it to life. :) Creative satisfaction!

What about you? What have you finished crocheting lately? Post links to pics so I can see! :)

WIP Wednesday: Striped Baby Stocking Hat

     A photographer friend of mine asked me to design a hat for her to use as a prop in her photo shoots. She sent me this picture and said that she wanted something similar.

     Looking at the picture, I'm pretty sure that this cap was made with double crochets, so I'm going to create my own version with single crochets.


I realized that I needed to add the pom pom to the end before the tube got too long. Otherwise, it would have been a big struggle to tie the pom pom on.

TIP: I used a Clover pom pom maker to create this perfect pom pom. I highly recommend them!

 
Photo by Flower Tree Photography

Photo by Flower Tree Photography


When I went yarn shopping for this project, I realized that there is no baby yarn in these neutral colors. Almost all yarn that is super soft and specifically made for babies is pastel pink, blue, green or yellow. There was some white, but no cream or gray. So, I decided to just use my favorite worsted weight yarn. 

I started out the top of the hat with a small point and then created a striped tube.


After attaching the pom pom, I kept crocheting the stripes and started increasing rounds in order to grow the bottom of the hat to fit a baby's head. 

Since I don't have a live human baby of my own to try this on, I won't be completely sure that it's the right size until I finish it and give it to my photographer friend. I'm hoping I get it right the first time! But, if not, I took good notes on what I did with this design, so I can start again if I'm way off!

What about you? What's on your hook right now? Tell me about it, post links to pics, brag, and share in the comments below! :)

Crochet Pattern: Gumdrop Baby Beanie

This week my brother Drew went to Pittsburgh to visit my other two brothers, Davey and Danny. I know, we're all D's, isn't that cute?

Anyway, Davey and his wife just had a new baby girl. Since I haven't seen her yet and I probably won't be able to meet her until we all go to Montana in July, I wanted to whip up a little something special for her so she knows that her auntie loves her. I was on deadline since I wanted to be able to finish her beanie in time to send it to Pittsburgh with Drew. Even though I was in a bit of a rush, I ended up being very happy with the result.

Gumdrop Baby Beanie for my niece

I don't normally write baby patterns and I didn't intend to share this one. But when Drew delivered the hat to the family and my sister in law sent me a picture of my niece wearing it, I knew I needed to share the love and share the pattern.

My niece at 2 weeks old. Adorbs!!

I'm feeling full of love looking at the pictures right now, so here's a free pattern for you!

Gumdrop Baby Beanie Crochet Pattern

Materials:

  • G hook
  • Red Heart Gumdrop yarn in Smoothie

Abbreviations Used:

  • rnd - round
  • mc/r - magic circle/magic ring
  • ch - chain
  • sc - single crochet
  • sl st - slip stitch
  • sts - stitches 
  • dc - double crochet

Size: Newborn- 3 months

Pattern:

Rnd 1: mc/r, ch 1. Work 6 sc into the mc/r. Join with sl st. (6 sts)

Rnd 2: ch 2, 2 dc in same st. 2 dc in each st around. Join with a sl st. (12 sts)

Rnd 3-4: ch 2, 2 dc in same st, dc in next st. *2 dc in next st, dc in next st, repeat from * around (18 sts)

Rnd 5: ch 2, 2 dc in same st, dc in next 2 sts. *2 dc in next st, dc in next 2 sts, repeat from * around (24 sts)

Rnd 6-12: ch 2, dc in each st around (24 sts)

Fasten off and weave in the ends.

Make pom pom and sew on the top.

Note: When I start the rounds 2-12 of dc's with ch 2, I make the first chain a normal size and then I stretch the second chain so that it's about at the height of a dc. I don't count either of these chains as a st in the rnd. I do it this way because it makes less of a seam and rows look straighter. Try it and let me know how it goes!

P.S. I didn't get a chance to measure my gauge before I sent it off to Pittsburgh. So you'll have to play around with it a bit. Sorry! But the pattern is free so don't complain too much ;)