Do you ever want to try something new and different with your crochet beanies? I totally get it! Most of my beanie patterns use single crochet stitches, but I’m in the mood to try something new. While single crochet beanies are great, sometimes you want a different texture that works up even quicker. That's why I created The Fast Favorite Beanie!
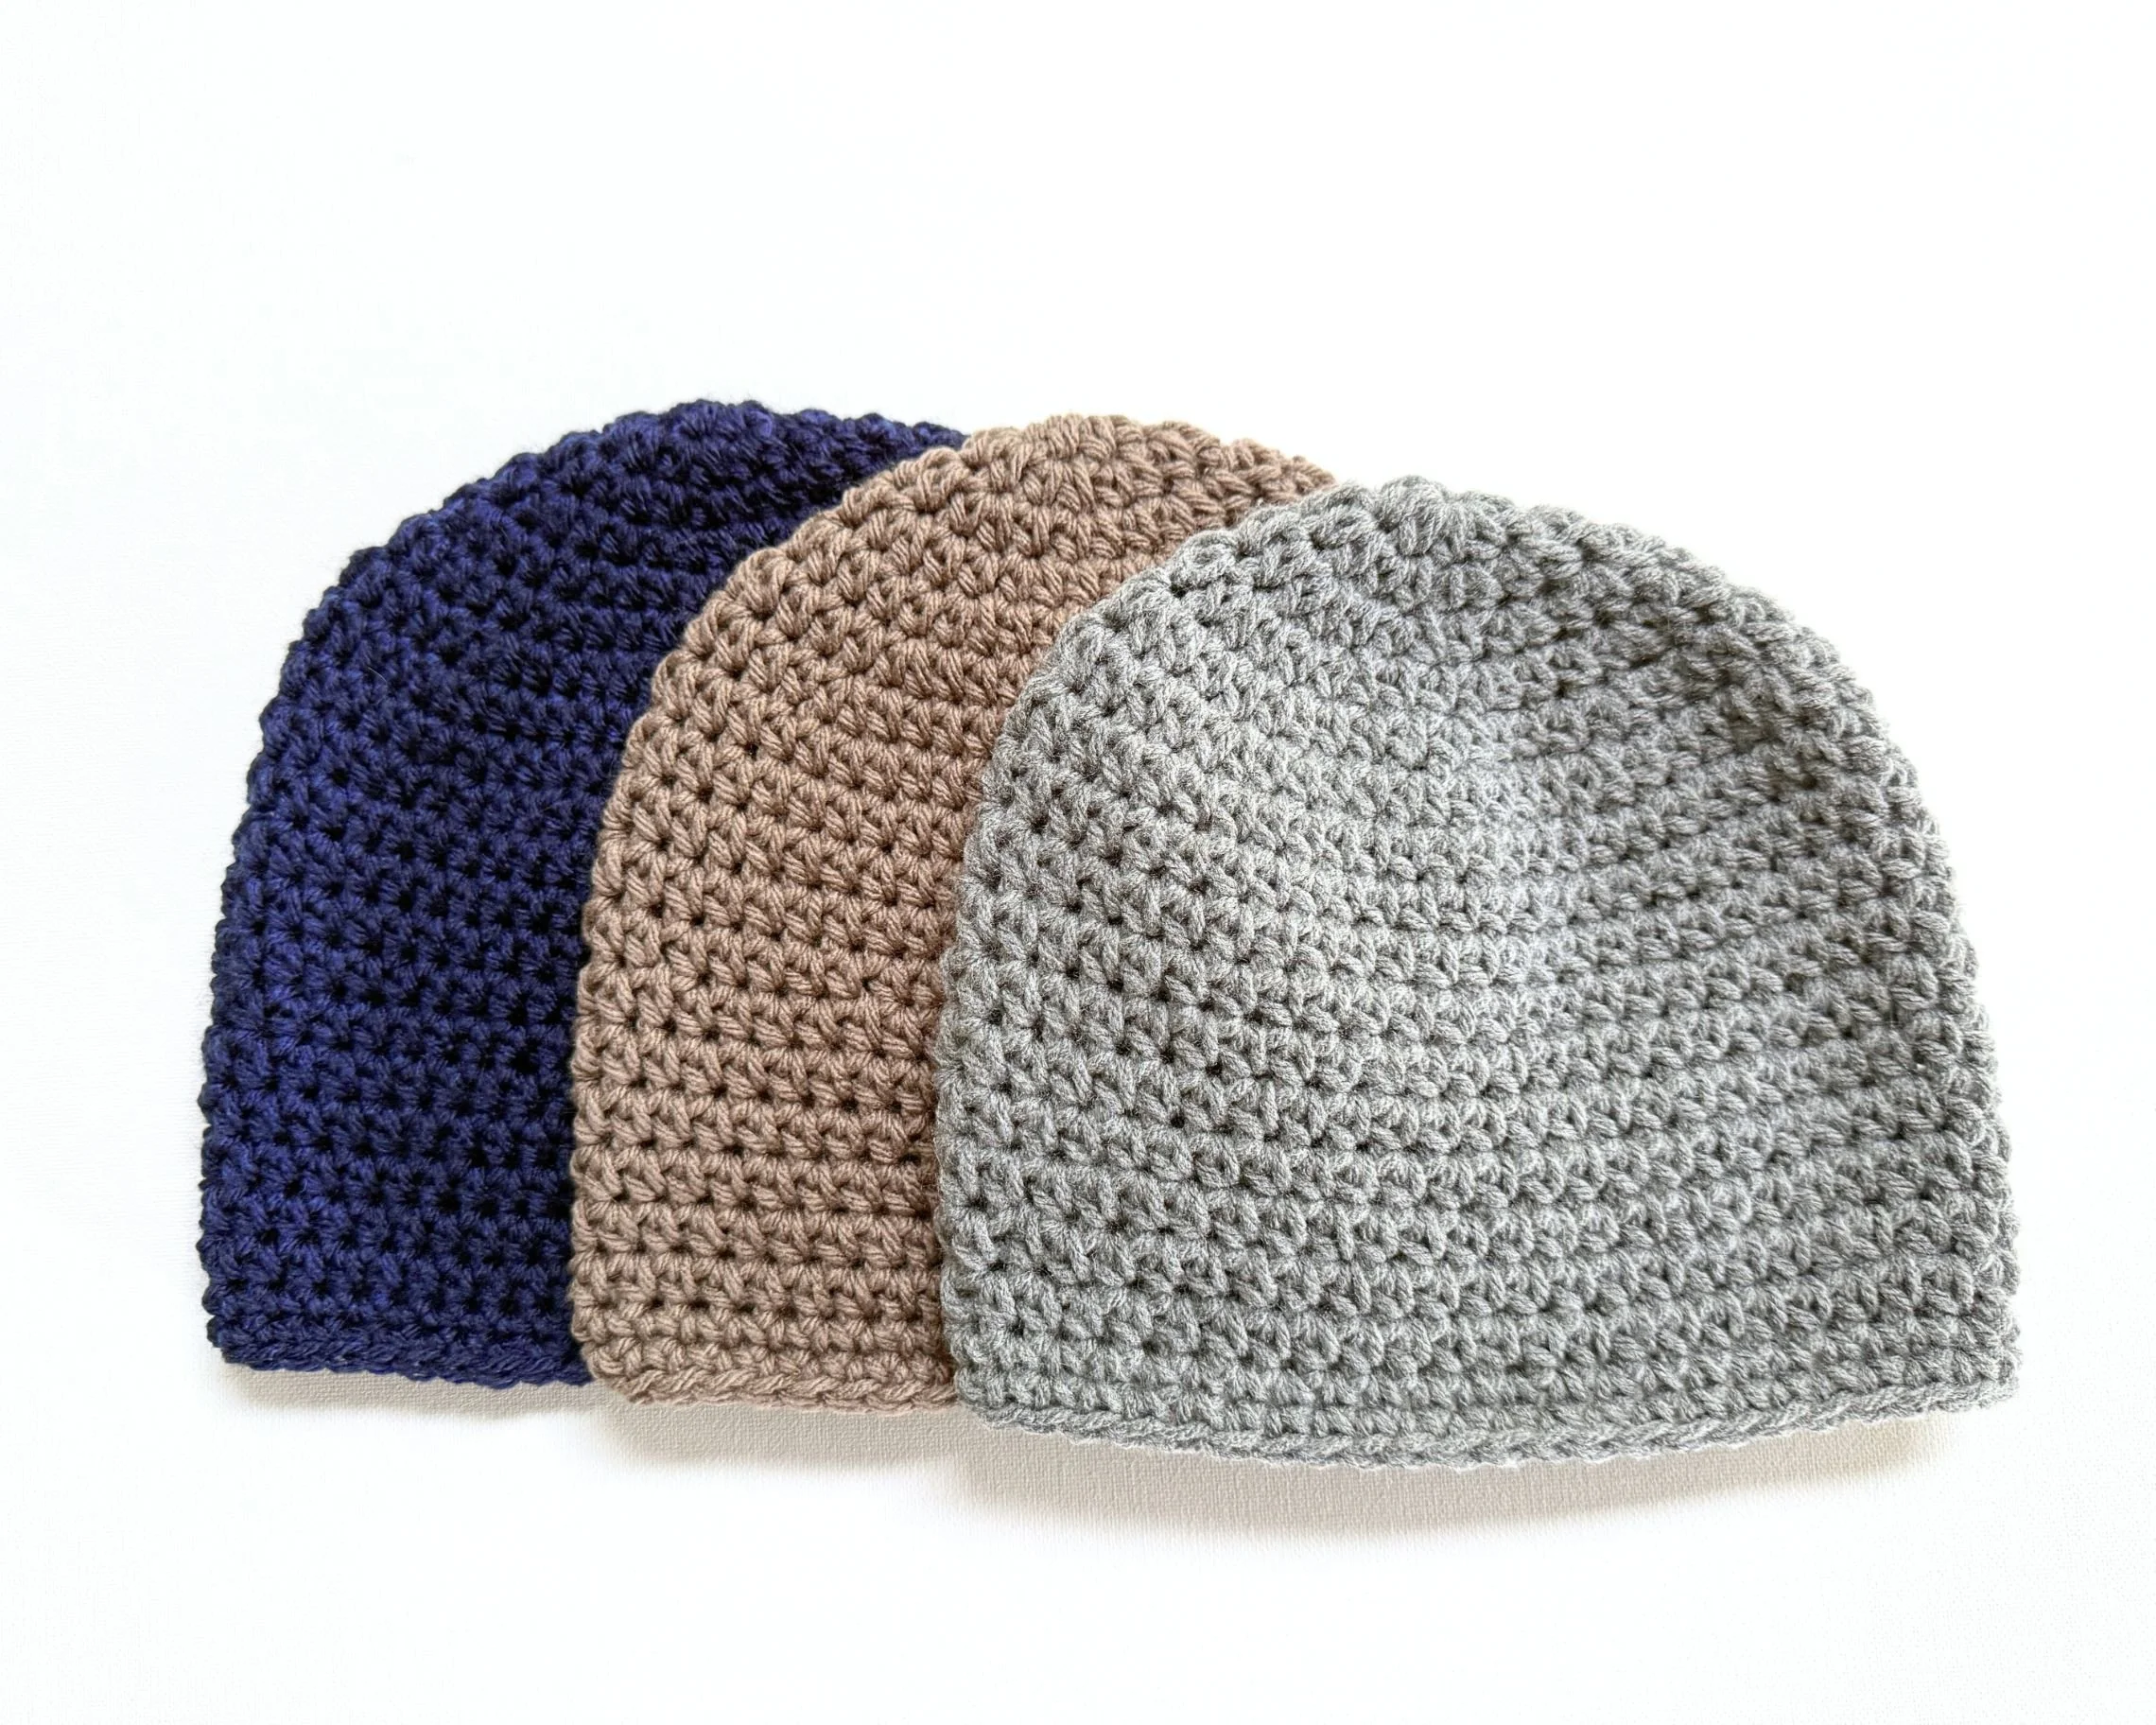
This YouTube tutorial will take you through the exact steps that you’ll need to crochet the Adult Medium size of this pattern. Once you learn it, this pattern is designed to become your go-to for quick and beautiful projects. It uses the simple yet satisfying half double crochet (hdc) stitch, so it works up in a flash.
This pattern is perfect for crocheters of all skill levels and the end result is a beanie that will be treasured for years to come.
What You'll Need (Materials)
Yarn: Approximately 100-120 yards of Worsted Weight Yarn (Category 4). I recommend acrylic or a soft wool blend for a cozy feel.
Hook: I/5.5mm hook (or size needed to obtain gauge).
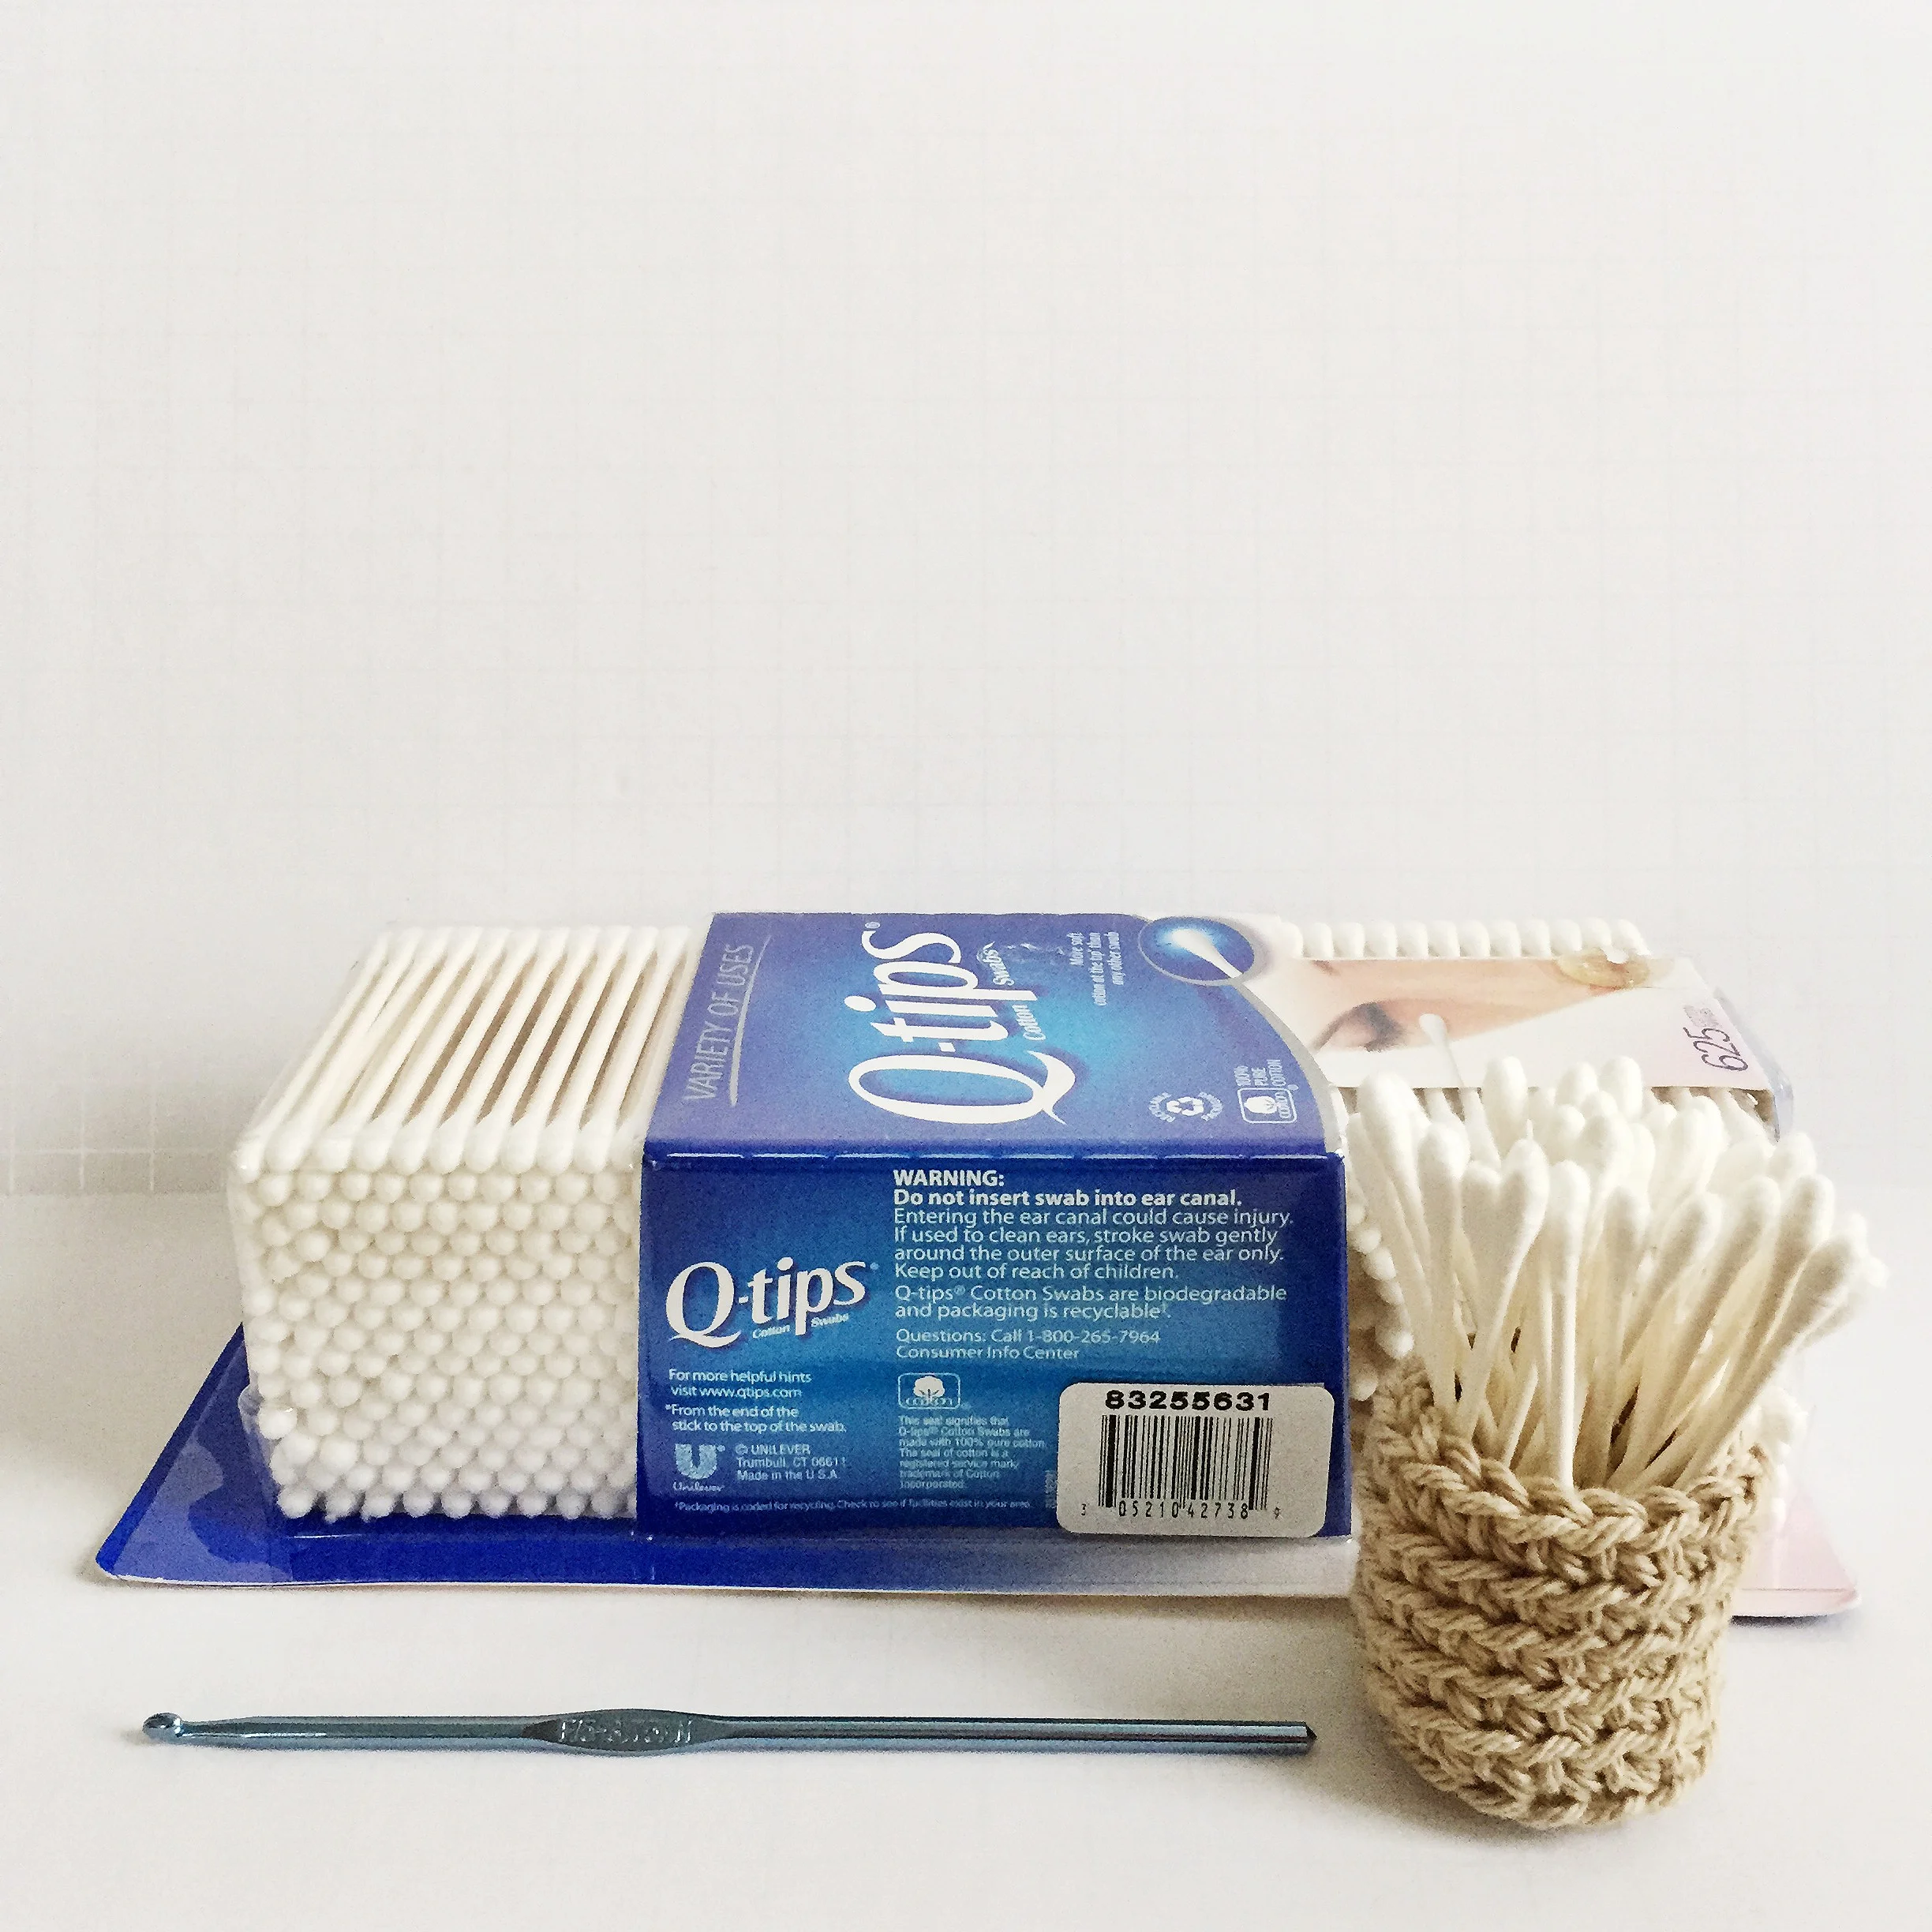
Tools: Scissors, a yarn needle for weaving in ends, a stitch marker (mandatory for spirals!), and a tape measure to measure your head or the head of the lucky person you're making this for!
Gauge Check
To make sure your hat fits perfectly, please check your gauge. Gauge can vary wildly between crocheters, so don't skip this step!
My Gauge: 4 inches x 4 inches = 13 hdc stitches x 9 rows of hdc (using an I/5.5mm hook).
Need help measuring your gauge or not sure what that even means? I have a dedicated video tutorial linked right here!
Finished Size Details (Adult Medium)
Fits Head Circumference: 20–22 inches
Finished Crown Diameter: Approximately 6 1/4 inches
Finished Height: Approximately 9 1/2 – 10 1/2 inches
Watch the YouTube tutorial for all the steps you’ll need to complete the Adult Medium Fast Favorite Beanie!
To get the full written pattern in 3 adult sizes (fits men, women, teens and tweens), click below!